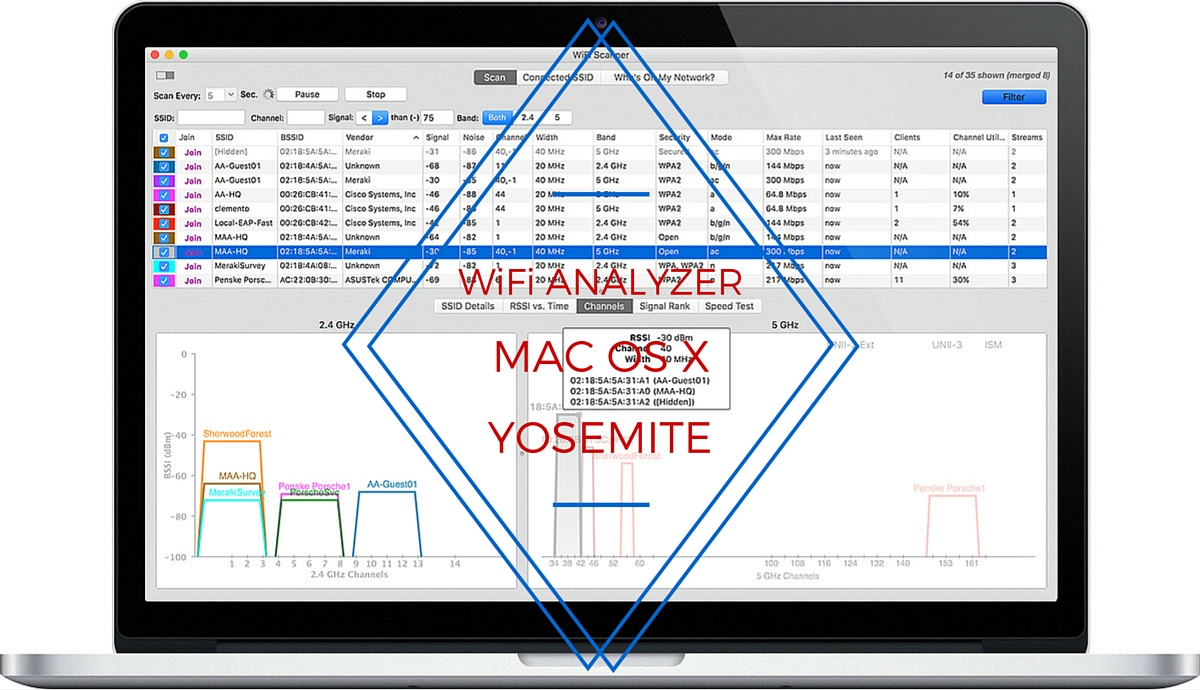
To access Internet from your Mac laptop, you require a stable Wi-Fi connectivity. You should change your Wi-Fi channel to establish a stable connection for your device. Here is where to find WiFi analyzer for Mac OS X Yosemite and how to use it.
Mac OS X Yosemite ships with a Wi-Fi scanner to enable you to find the best Wi-Fi channel. However, it is very tricky to use. You need to hover over the Wi-Fi icon located in your OS X menu bar, hold the Option key, which is near CTRL key. After that, you need to click on the icon.
Where to find it
You will be able to view a secret drop-down menu where you have to locate and select Open Wireless Diagnostics option. You can also enable Wi-Fi logging and turn off Wi-Fi from the popup menu.
Mac OS X will open a Wireless Diagnostics window, where you will find three options like File, Edit and Window. You need to select Window menu and choose Scan option from it.
As soon as you open the Scan window, you will be able to find a summary of all the available wireless networks within your range. There are two parts in this window.
How to use it
While the left pane displays a breakdown of all the wireless channels including the best available wireless networks, the right panel shows the network name followed by basic service set identifier (BSSID), Security, Protocol and received signal strength indicator (RSSI).
If you are in doubt, you can again scan for the presence of wireless networks by selecting Scan Now button.
Alternatively, you can log into your ADSL modem and router via your web browser using the address supplied by your manufacturer and adjust the wireless channel. It is possible to enhance the speed of Wi-Fi network by adjusting the router’s channel to auto.
WiFi Analyzer for Mac OS X Yosemite is a great tool to improve the Wi-Fi network connectivity. If you use Mac, you should know how to use it.


